Sewing the Amy Butler Weekender Travel Bag - Part One
Tuesday, July 01, 2014Phew.
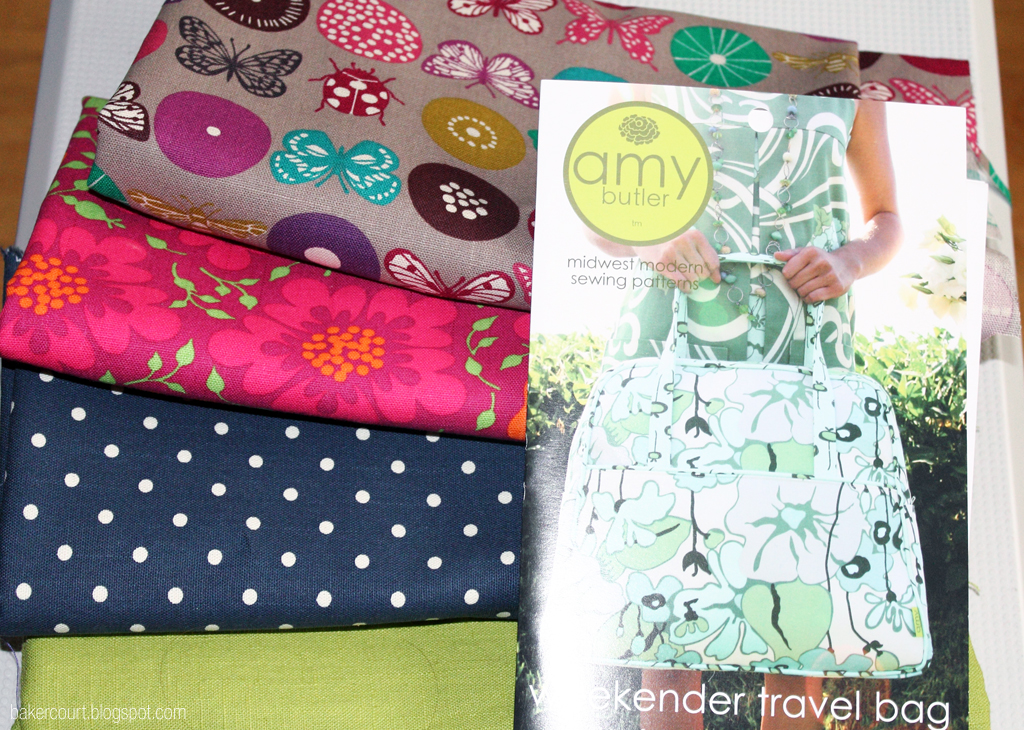
Remember these fabrics? I've been cutting them up into a million different pieces that make up the Weekender Travel Bag. I had read loads of blogs on the topic: be prepared, they all said. They were right. I traced all of the fabric pieces onto sewing paper, and started cutting. It took about four hours to figure out placements, cut, match up, cut wadding, cut interfacing, etc. It happened slowly, in stages. There was tea involved.
I snipped, and zipped, and sewed, and breathed in slowly quite a lot. I had made a list of all the changes I wanted to make to the bag in advance, and had adjusted the pattern accordingly:
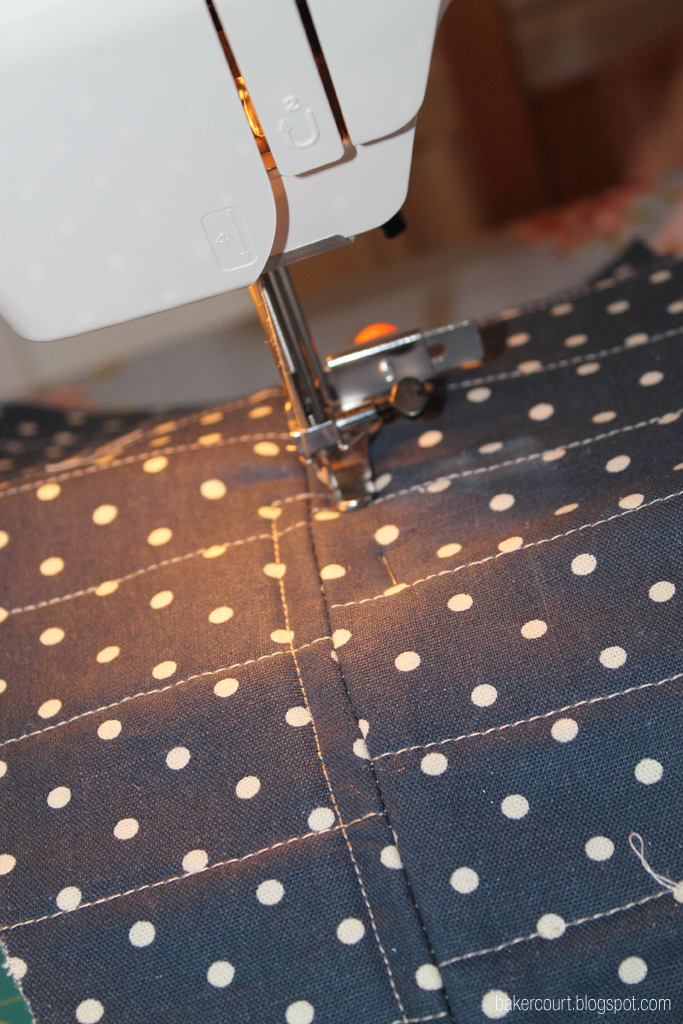
- I wanted to quilt all of the pieces ala Oh, Fransson! I didn't want to use Peltex / Timtex because it's too expensive here in the UK, and I have plenty of wadding leftover from recent quilt projects. I used a layer of wadding and a layer of heavy vilene instead of cotton duck, and quilted random parallel lines along the panels. Tick.
- I wanted to extend the straps so they'd go over my shoulders. The fabric I had was 56" wide, perfect for adding a bit of length. Tick.
- I wanted to add an inside pocket, so I cut out two extra "main pocket" pieces. Tick.
- I really didn't like that the side pockets didn't have piping, so I made up a few inches more so I'd be able to add a burst of lime green on the sides. Tick.
- I found a 30" zip on ebay. Easy peasy. Also saw that they have them in stock at Hobbycraft in the sewing section (in four dire colours ranging from black to dark olive green/grey). I'm sure a shorter zip would be fine here, you would just adjust the length of the opening accordingly.
- I couldn't find quilting template plastic for adding structure to the base. No tick. Thought about buying a placemat and cutting it up. Too thick. Looked everywhere for leftover box inserts I could cut. No luck. Nothing else lying around that could easily be cut up, and later washed. Fine. Who needs a structured bottom anyway?
- Will later add a false bottom if I can find a good plastic insert. I also bought bag feet but have opted to leave those off as the bottom will likely be resting on the ground without the added support anyway.
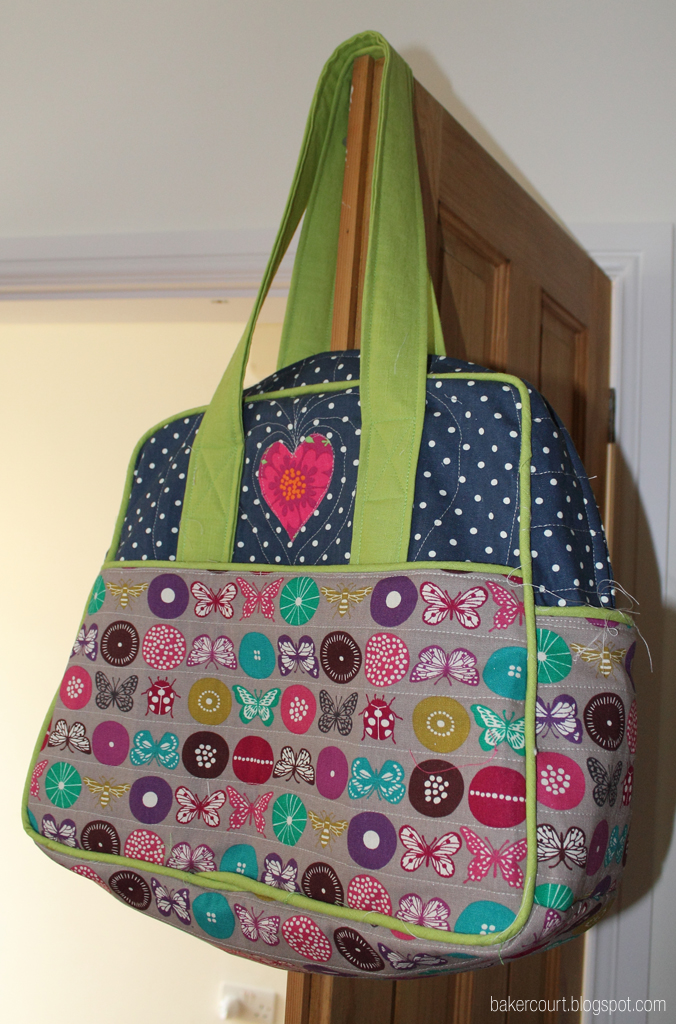
I quilted the side panels around a heart applique shape cut out from the leftover lining fabric. I used four different fabrics (a metre of each) and there was just enough left over from the pink lining to cut out these hearts. Plenty left from the echino bugs, navy polka dots and lime green linen/cotton so might make up some small zippy bags. Eventually. Or, to use as the fabric covering for the false bottom.
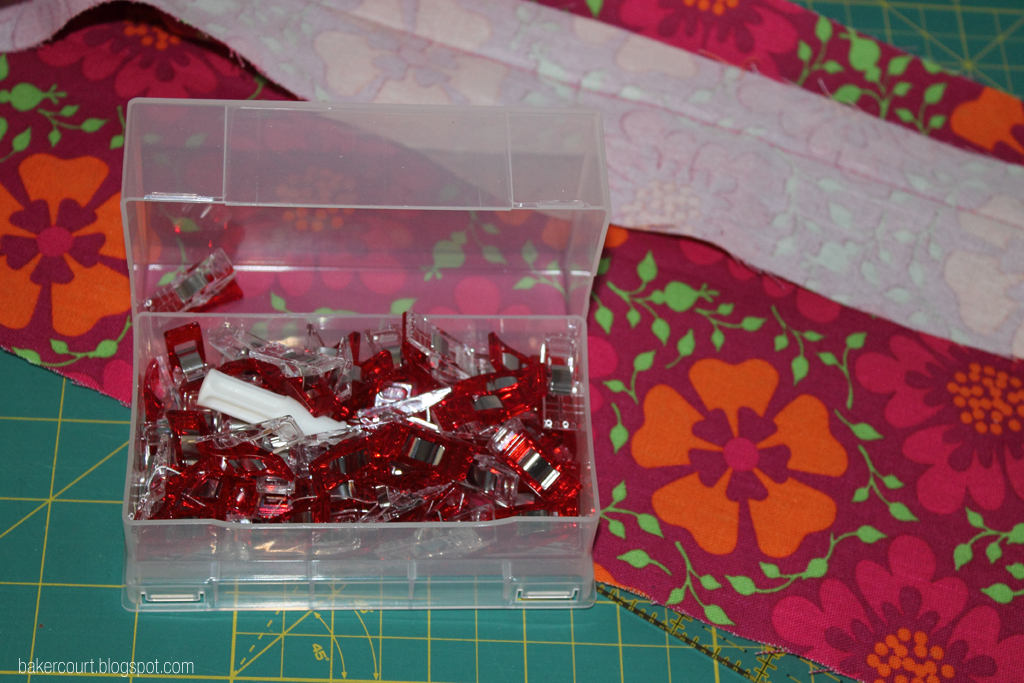
Oh, those wonder clips! They're amazing. Amay-zing.
I have a box of fifty. At one point, at "the dreaded step 11" (when attaching the side panels to the top and bottom and actually making this a bag), I ran out. It wasn't difficult or techinically challenging, you just have to go slow and recycle your clips as you finish one section and start another. And use a super strong needle. And be prepared to resew bits that aren't close enough to the stitching on your piping. Grr.
That's as far as I got. Exterior assembled. Loads of threads that need cutting off, and a loose bottom-y bit that needs a bit of structure. I'm sure if I had this on the floor instead of hanging on the door, it would look more stable, but I'm happy with my progress! It has a zip that works and everything. It's much bigger than I thought it would be. All through the cutting I was thinking oh, it's not as big as everyone says it is. Silly sausage. Just wait until you sew the main panels to the top/bottom and then you'll see. It's a big 'un. That's okay, I'm making to hold lots and lots and lots of nappies and changes of clothes and bottles. Those things take up space.
Time to start working on the lining. All pieces are cut, it just needs to be assembled, pressed and hand-sewn in. As you do.





8 comments