Baby Shower Cookies and sugarpaste decorations
Saturday, September 24, 2011The baby shower cookies were oh-so cute but they took a very long time to make. This was probably because I had never iced cookies before but I think it helped to plan out the cookies in advance and choose which colours and decorations I'd need before I started. I used pastel shades of blue and yellow with white. I also knew I'd need some sugarpaste decorates for the onesies and baby prams, so that seems like a good place to start.
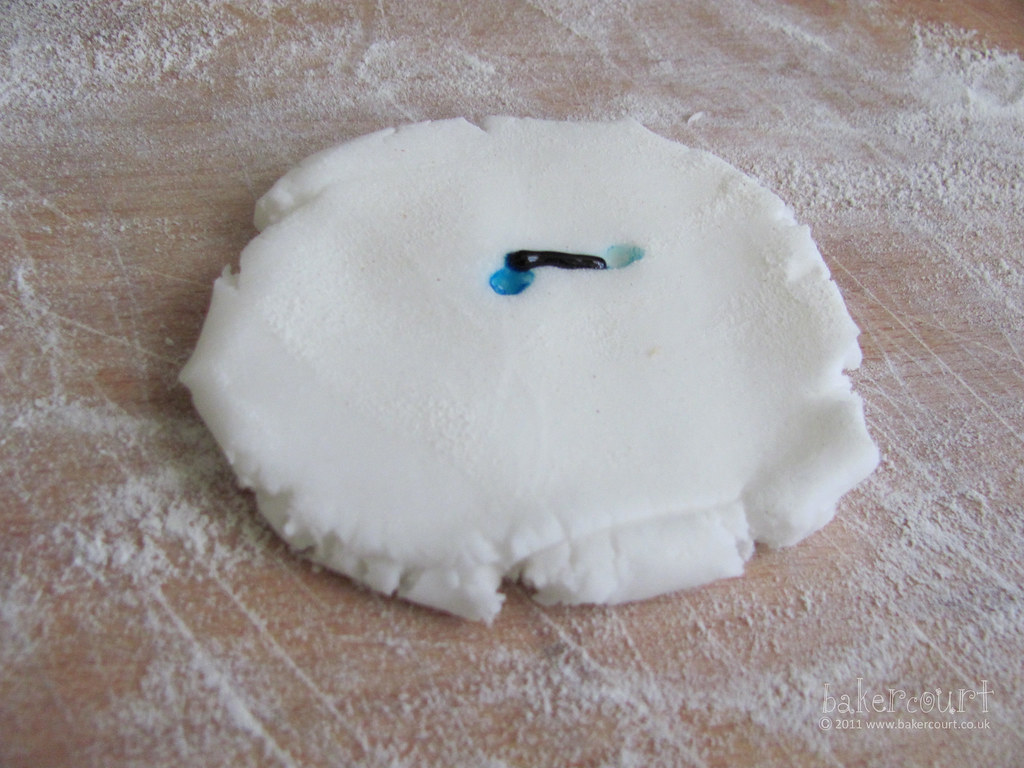
This is plain regal icing, which is also known as sugarpaste. I added a few drops of blue gel colour and kneaded it in to make pastel blue modelling clay.

I wanted to make button so I improvised with round shape-making items (in this case, a piping nozzle).
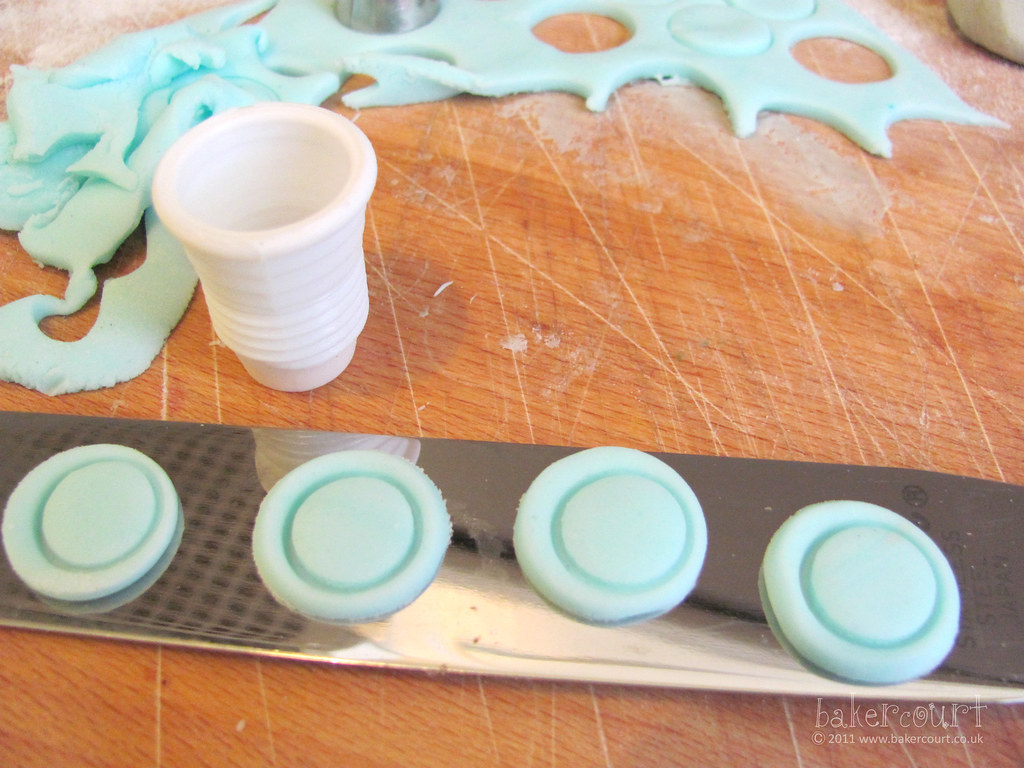
I then pressed a second smaller circle inside the cut-out to create a bevelled edge.
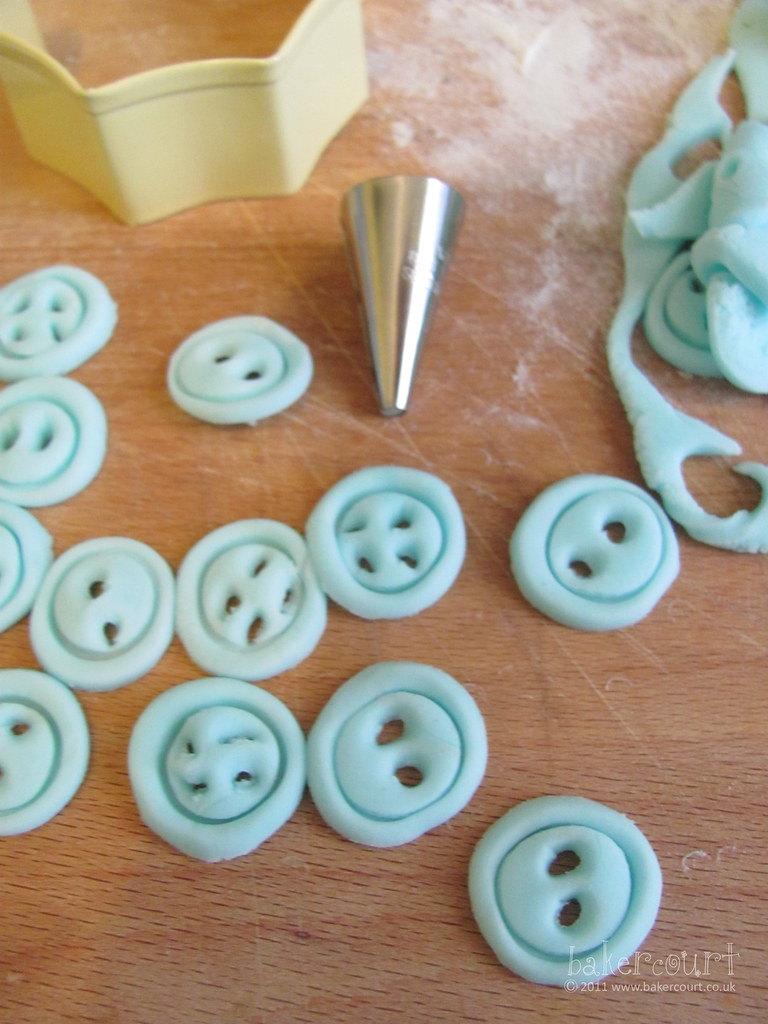
Then I used a smaller nozzle to punch out button holes. A little wiggling makes the holes rounder.
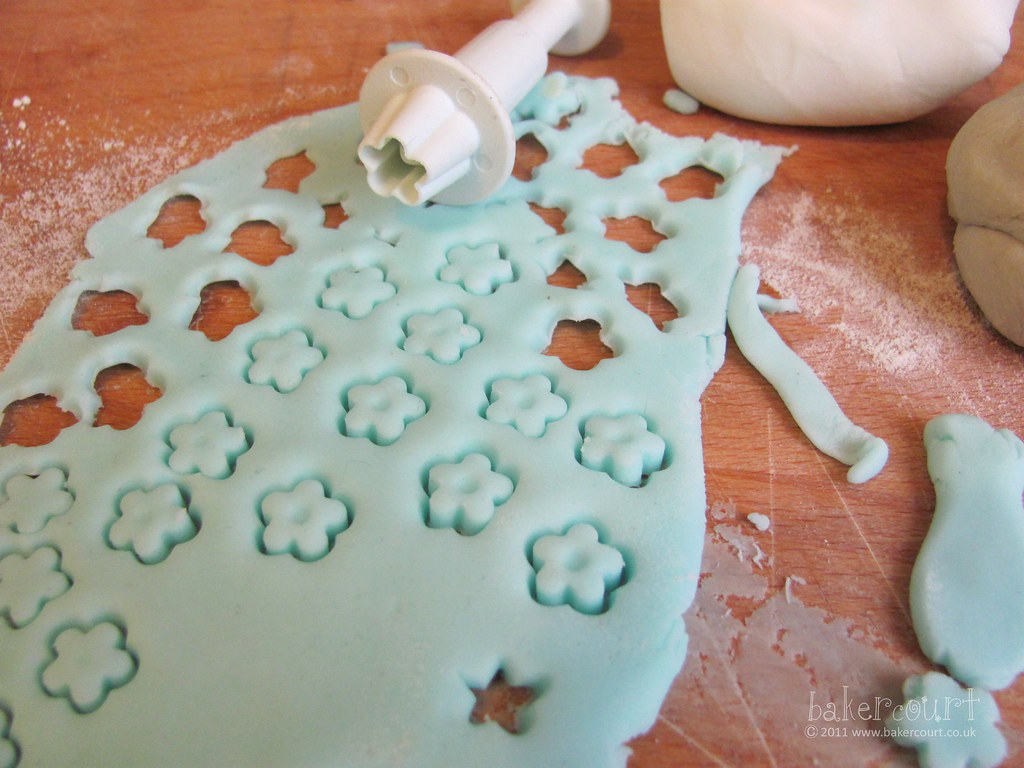
I also punched out some itty bitty flowers...
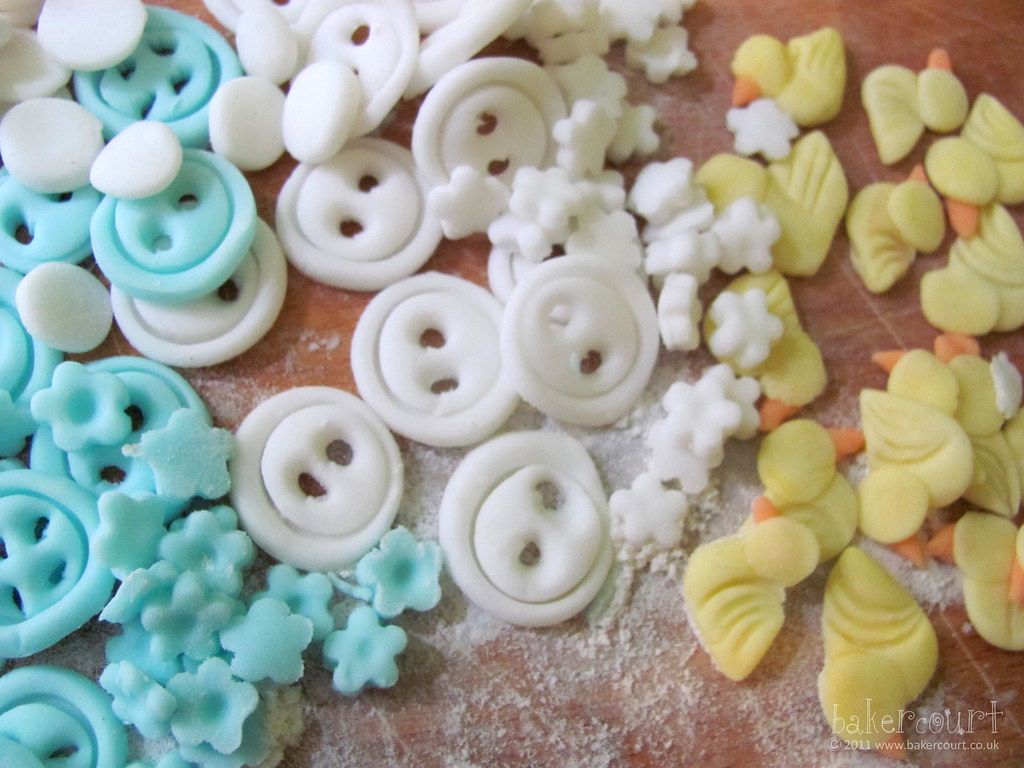
... and some duckies too! They were very easy: roll two blobs of yellow sugarpaste into one large and one small ball. Press the large ball flat and pinch the end. The smaller ball should be pressed flat too, but try not to press it too hard because you'll press it again when you attach it to the body. Then, roll a small 'sausage' out of orange sugarpaste and press it into the back of the flattened smaller round so that about 3mm sticks out the side.. This is the beak, so pinch the end that sticks out to make a teeny bit realistic. Then, simply attach the head to the body by pushing the join together. You can also glue this if they don't seem to stick well (edible glue is fantastic, but you can also use some icing sugar with a bit of water). I made the wings by pressing down lightly with the edge of a piping nozzle.
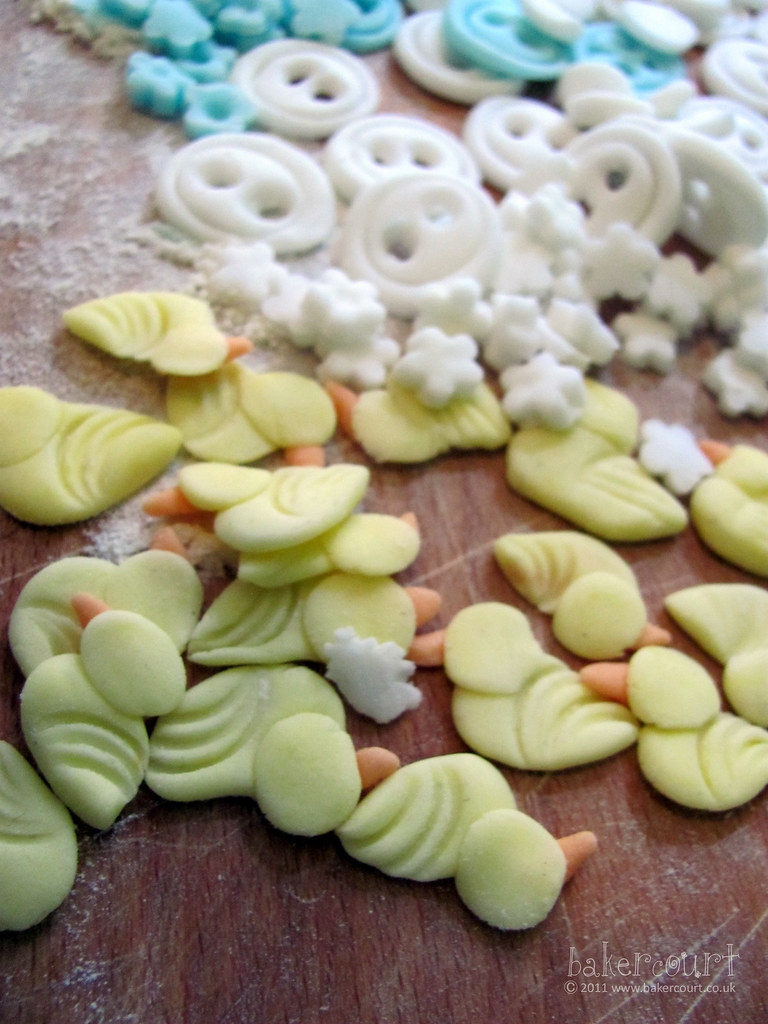
If you have a food marker with edible ink you could draw on a black dot for an eye. I waited until I had attached the duck to the front of the onesie before I piped on a dark blue duckie eye; it worked just as well.
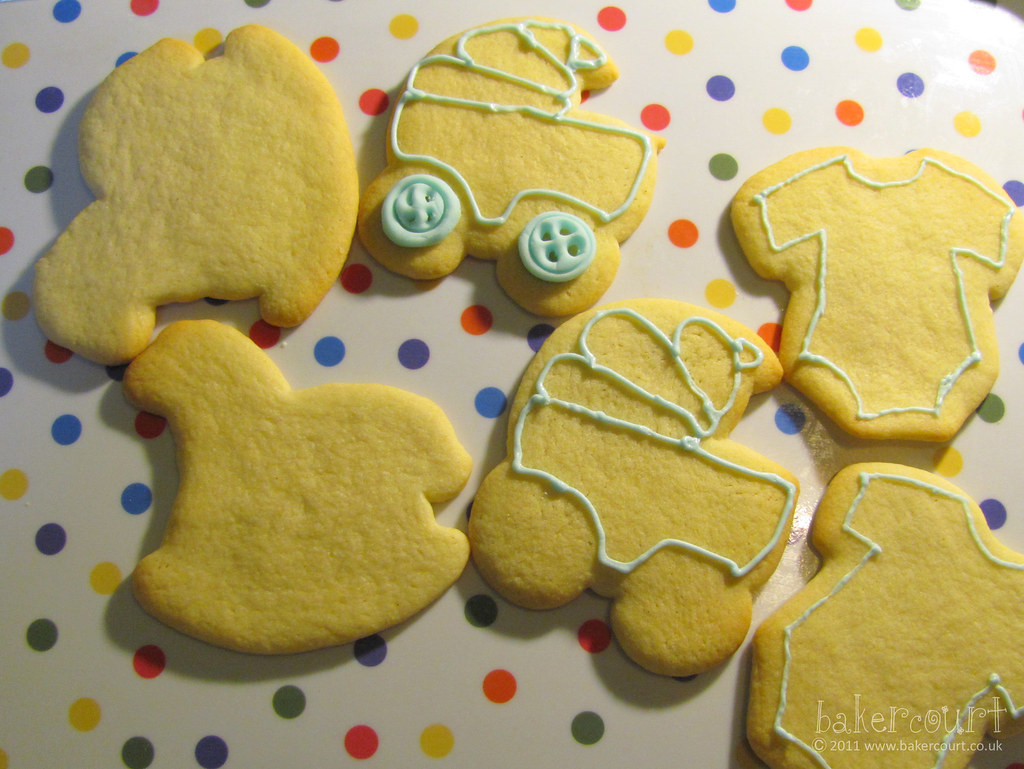
Once those were done, I started on the cookies. I started by outlining the shapes with light blue piping icing (piping icing is a thicker royal icing than normal, it keeps the outline stiff so that the inner icing can be a bit thinner to create a glossy finish).
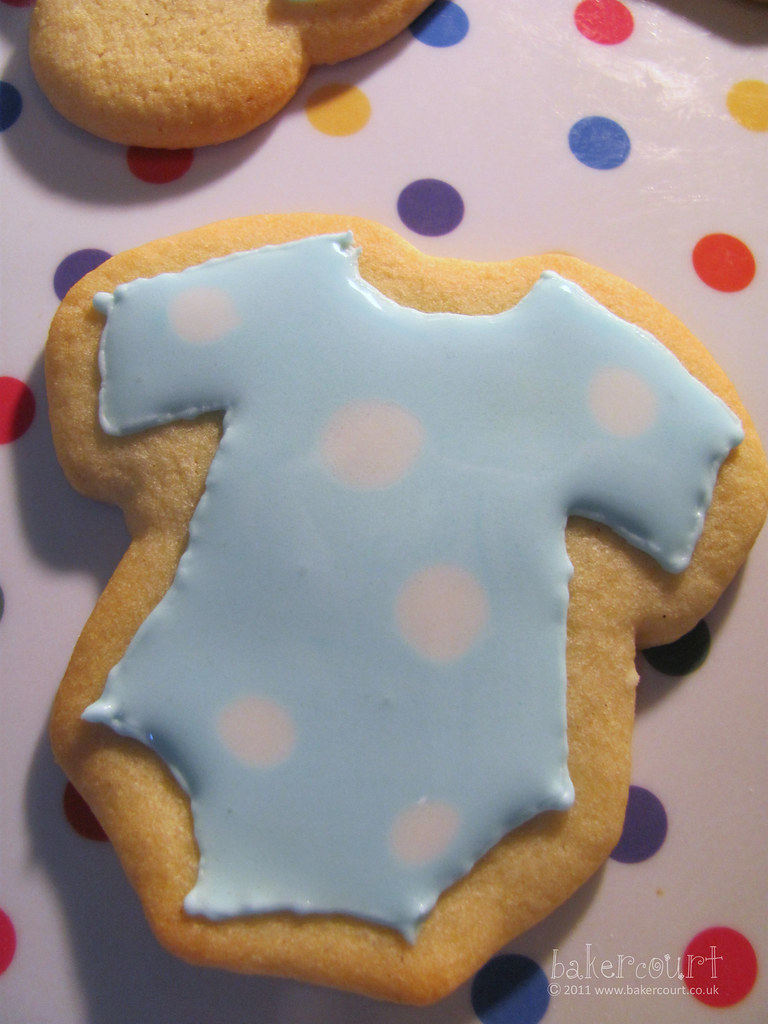
Then I filled in the shapes. The onesies (or babygrows, as we call them back home in SA) were all blue with polka dots or stripes.
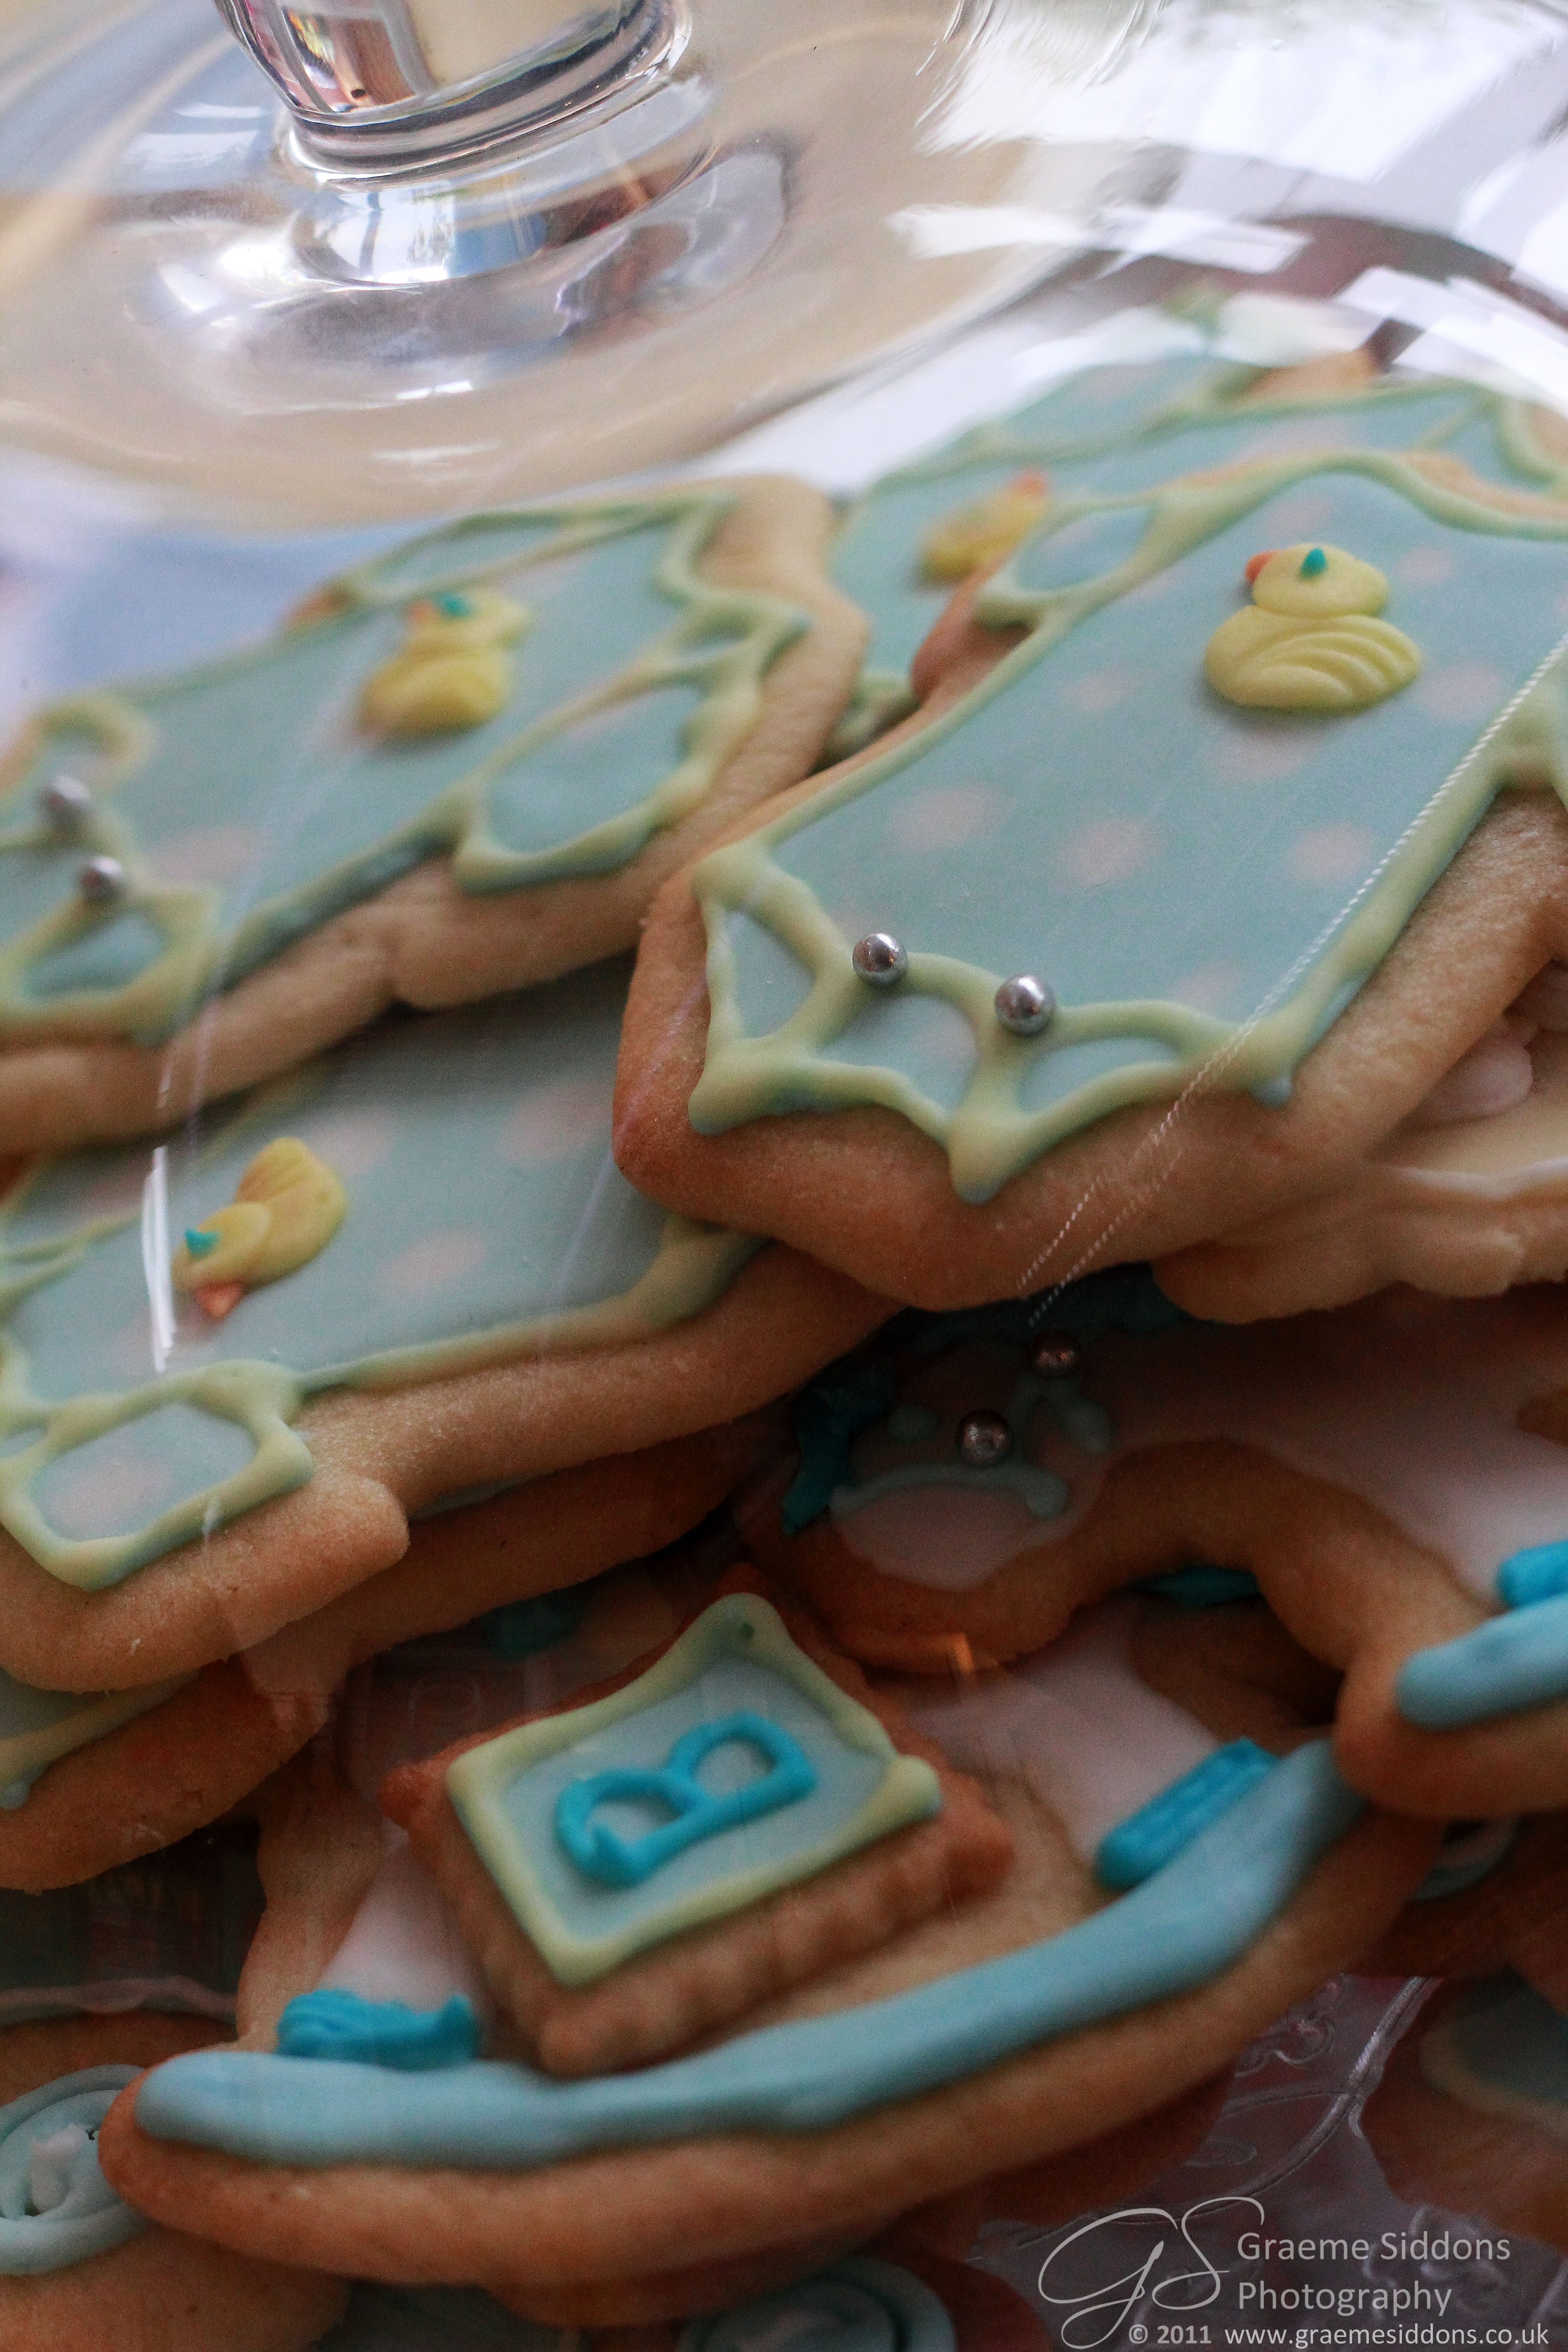
They turned out rather well, I think!
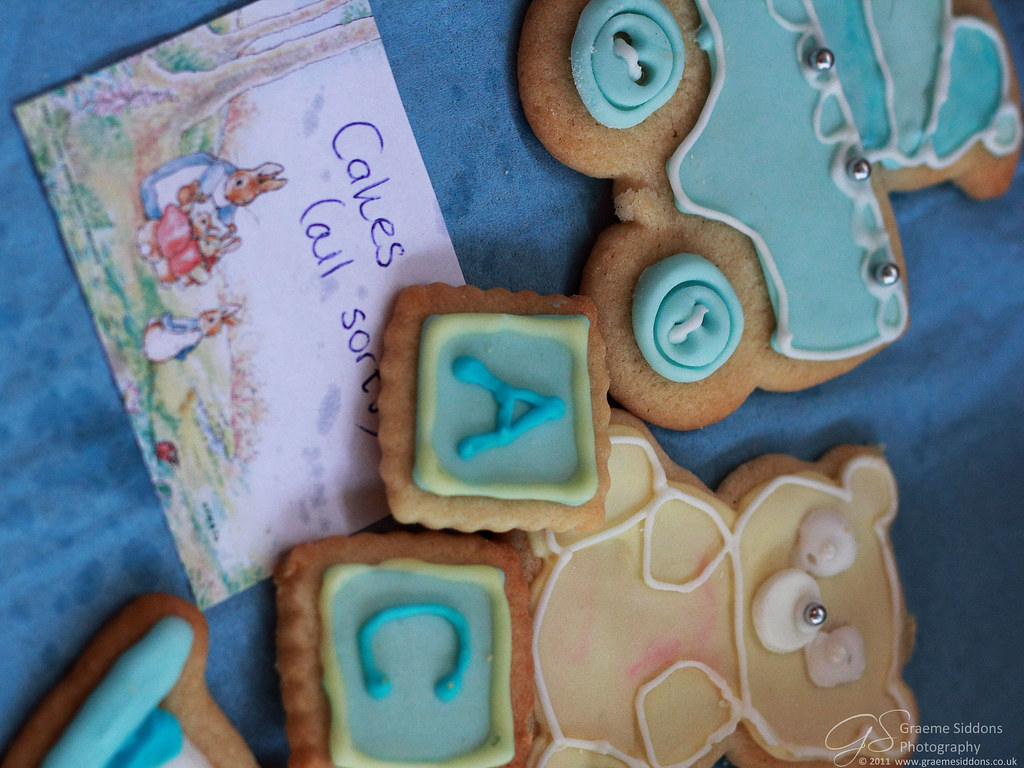
Here are some of the other shapes I made. That's a pram up there on the upper right: button wheels, scalloped detailing and silver balls to add a touch of prettiness. The teddy bear on the lower right has a sugarpaste snout with a silver ball nose, and the eyes are filled with royal icing and have a pearl ball in each. the building blocks are simple scalloped squares with piped letters.

Here's a little rocking horse; I think it's kinda cute but the onesies are still my favourite. The biscuits were delicious, they taste a bit like very sweet shortbread (with added vanilla extract) and they're made even sweeter by the extra icing so its quite nice to leave a bit un-iced like the rocking horse above. You need to keep them airtight though, and serve them as soon as possible after baking as they tend to crumble. Yum!


7 comments